In order for you to boot devices with UEFI and active Secure Boot within a PXE network using toolstar®bootcast (UEFI without Secure Boot and legacy BIOS systems are not affected), toolstar®bootcast must not only provide the local TFTP server but also independently distribute IP addresses using its own DHCP server. This is due to the lack of a proxy DHCP function in the GRUB bootloader.
Network setup with a standard Windows client
To set up such a network (with an internet connection via your current company network), you will need a Windows device with two network cards, on which both Windows and the bootcast software are installed. Please connect network card A to your company network with internet access. Next, connect network card B to a switch, to which the clients for booting toolstar®testLX, toolstar®shredderLX, HDClone, Linux, Windows, or generic firmware images will later be connected.
In Windows, first open the Control Panel and navigate to "Network and Internet" -> "Network and Sharing Center" -> "Change adapter settings".
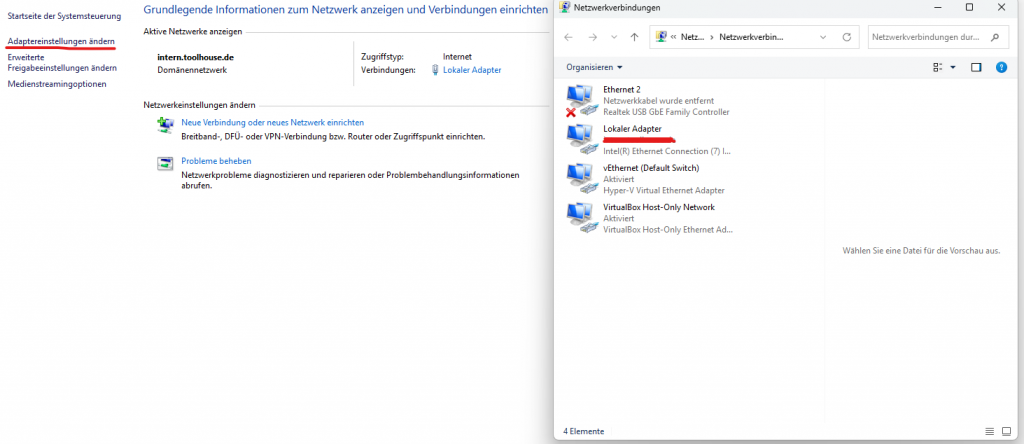
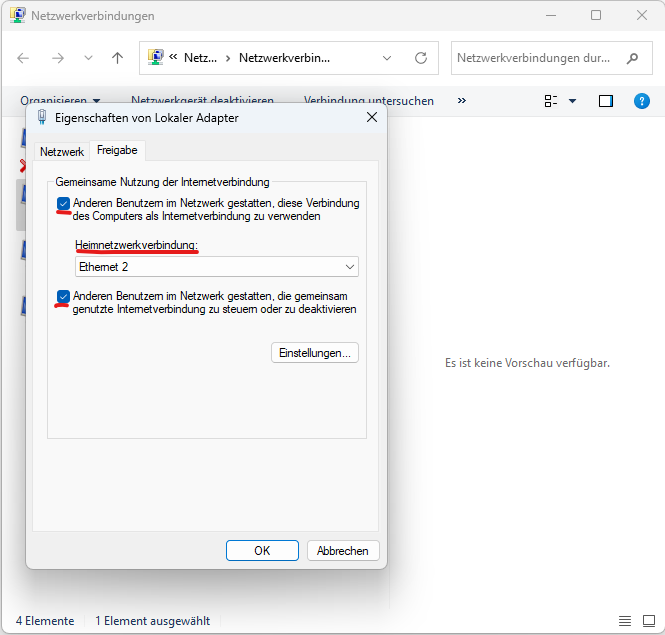
In the new dialog box, you will find two or more network adapters. Please select network adapter A (with internet access) and open its properties. Then select the "Sharing" tab. Please select all options and, if necessary, network adapter B. If you only have two network adapters, there will be no selection, and the connection will be automatically shared with network adapter B (local adapter for toolstar®bootcast).
After clicking OK, you may receive a message stating that the IP address of network adapter B (local network) has been changed to IP address 192.168.137.1. This is the default address that Windows assigns in this case.