PC and tester information in toolstar® products

The information about PC & tester is basically there to enrich the information on issued test and deletion protocols as well as certificates with your own information that cannot be read by machines. This could be the technician responsible for the device, your company logo or even internal key figures such as ticket numbers or customer numbers. However, the information within the PC & tester info can also be used to automatically generate file names or email subjects.

You can find more information in this article: Use PC & tester information effectively

Settings: Include your logo - toolstar®testLX and toolstar®testWIN

Step by step instructions

1. Place the logo on the USB stick

If you would like to integrate the logo into toolstar®testLX, then you must place your logo file as a PNG or JPG on the stick in the testlx directory. If you want to integrate the logo into toolstar®testWIN, the logo file must always be located next to the main program file (.exe).

TIP: You can also upload the logo to our customer portal and have it automatically integrated into your downloads. In the case of toolstar®testWIN, your logo file is then saved in the .EXE file. Make sure to also upload an appropriate .ini file in which you specify the name of your logo.

2. Open the settings dialog in the program and select “PC & tester information”.

You can access the settings dialog via the settings button on the quick start page or via the Settings item in the side menu in the main menu. On the next page you will find the menu item “Information about PC & tester”. Within this menu you can specify the name of your logo (for example logo.png) or a path if you have stored the file in a subfolder.

The following settings are available:
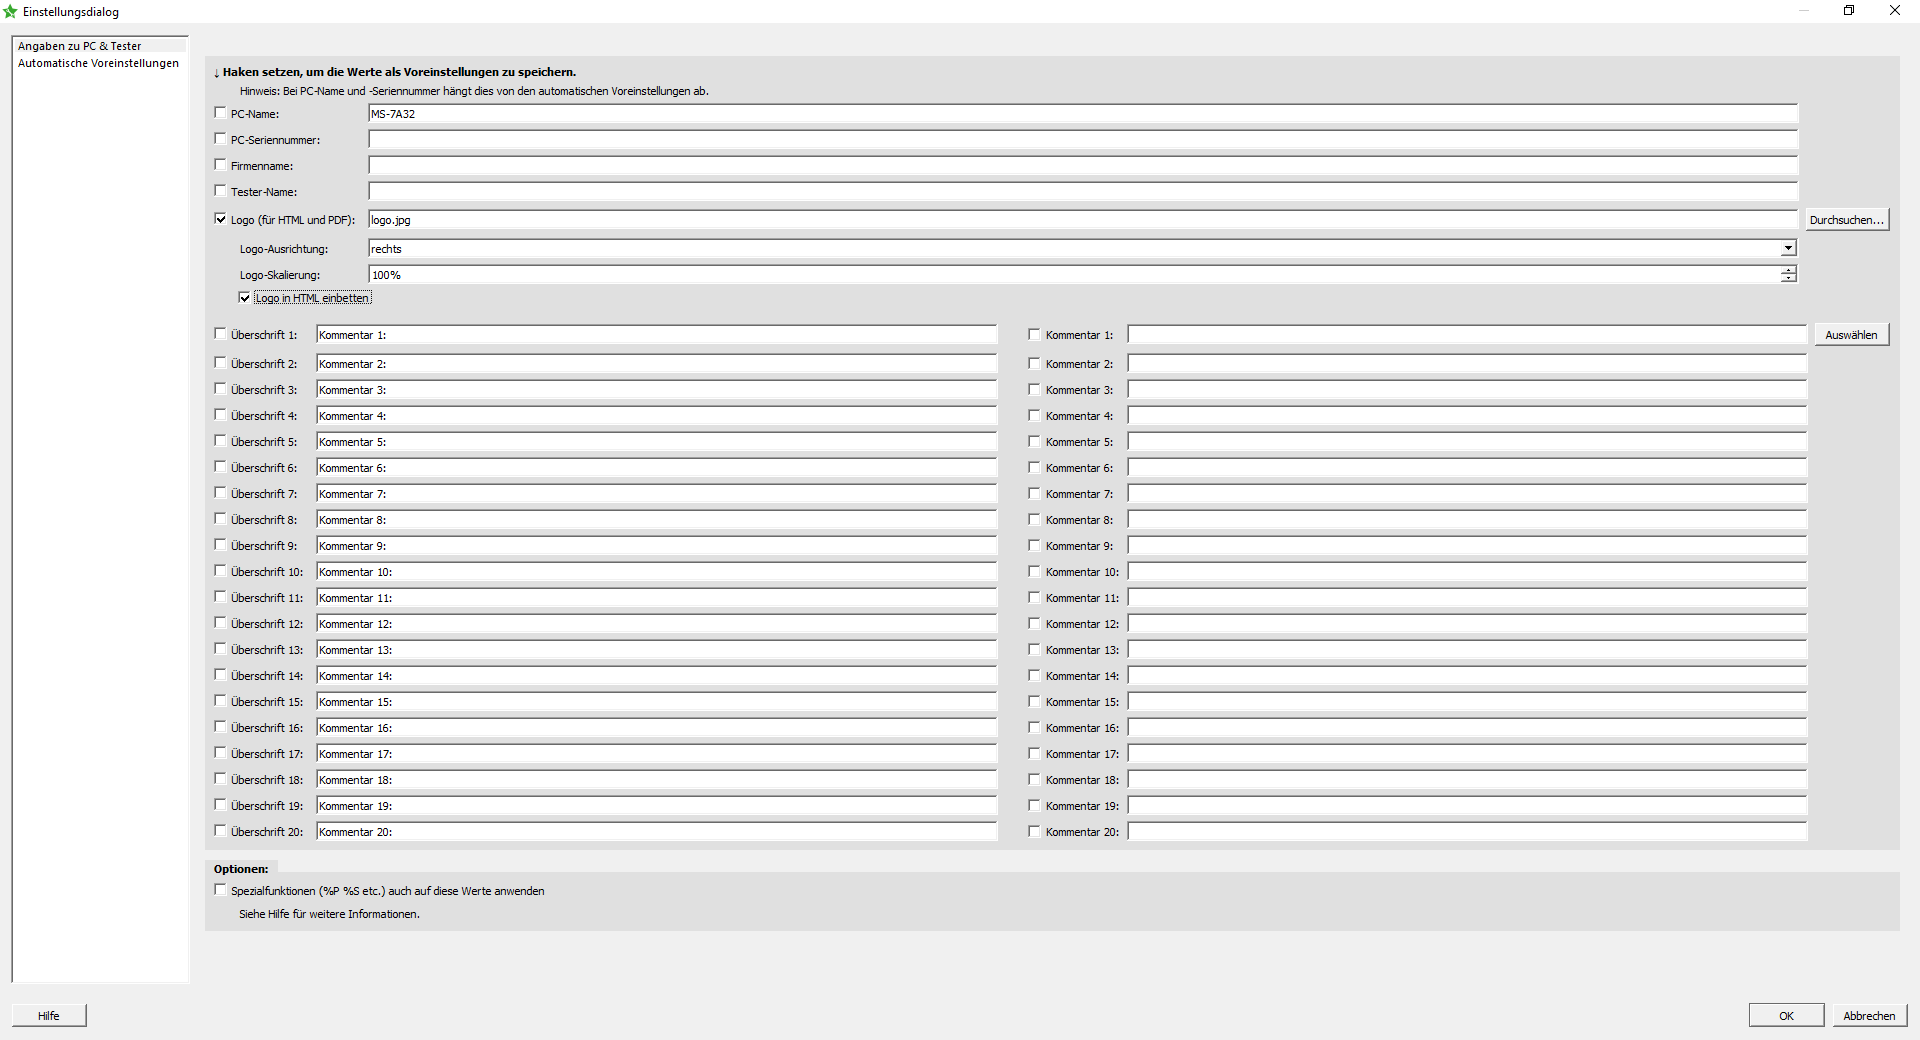
Logo (for HTML and PDF): Path to the logo file such as logo.png or /logos/logo.png
Logo- Alignment:On which side of the log should the logo appear? By default, the right is selected.
Logo scaling: Here you can scale the logo minimally to achieve a perfect size. Our recommendation is that you adjust the logo beforehand in a graphics program for the best result.
Embed logo in HTML: If you select this option, the image information will be embedded directly into the HTML as Base64. Date integrated. This means that the file is larger but there is no need for an extra logo image file next to the HTML file.

IMPORTANT: The root path is always the directory in which the main program file is located. For toolstar®testLX this is the testlx directory on the USB stick.

3. Quick test of settings

To quickly check whether your settings were successful, you can simply save an information page in the program as PDF or HTML using the F2 key. A graphic logo is only supported in these two formats.

An information page is, for example, a system overview or component information that opens whenever you select a single test, such as processor, from the main menu.

Difference between global settings and endurance test settings

Within the automation scripts/long-term tests you will also find the settings for the PC & tester information. The variant described above sets the logo globally for all editions. No matter whether you generate them manually or via a long-term test. However, you can set your own setting for the logo and all other PC & tester information for each long-term test. Only if you specify a special configuration in the endurance test will the global setting be overwritten.

You should specify all information that is generally valid in the company in the global settings and, if necessary, set customer or order-specific information for each long-term test.